How-To: 3D Wall Mural
I created this project for Bunnings NZ #DIYJULY as sponsored posts over on Instagram. I’m sharing it in full here for easy reference! I hope you love it.
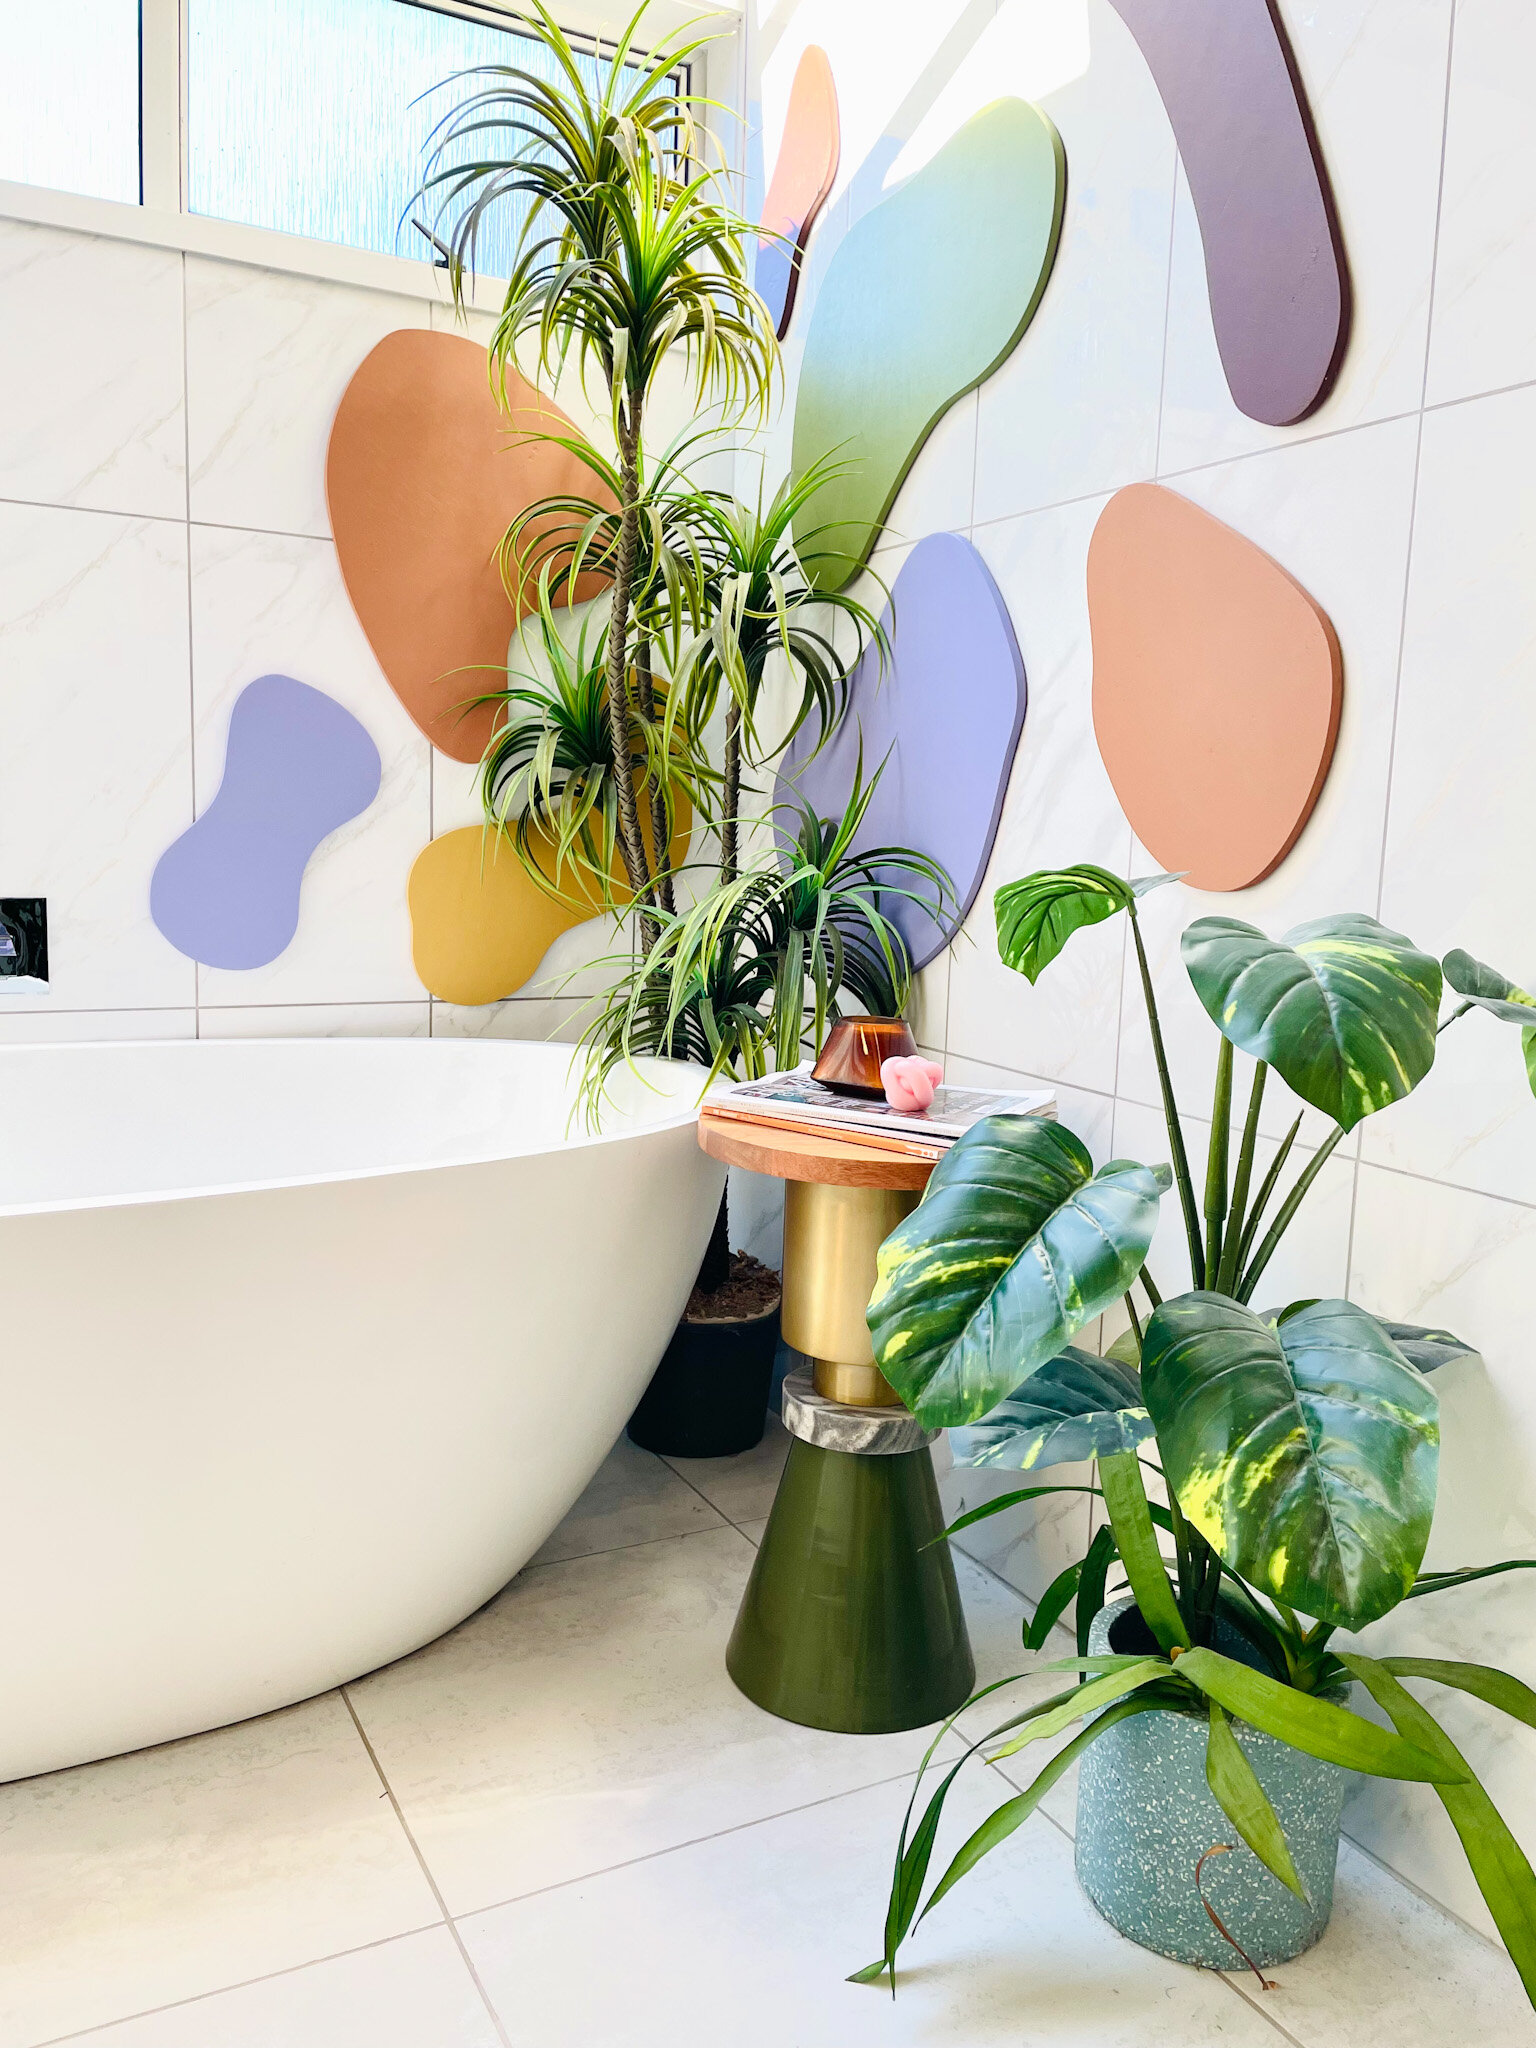
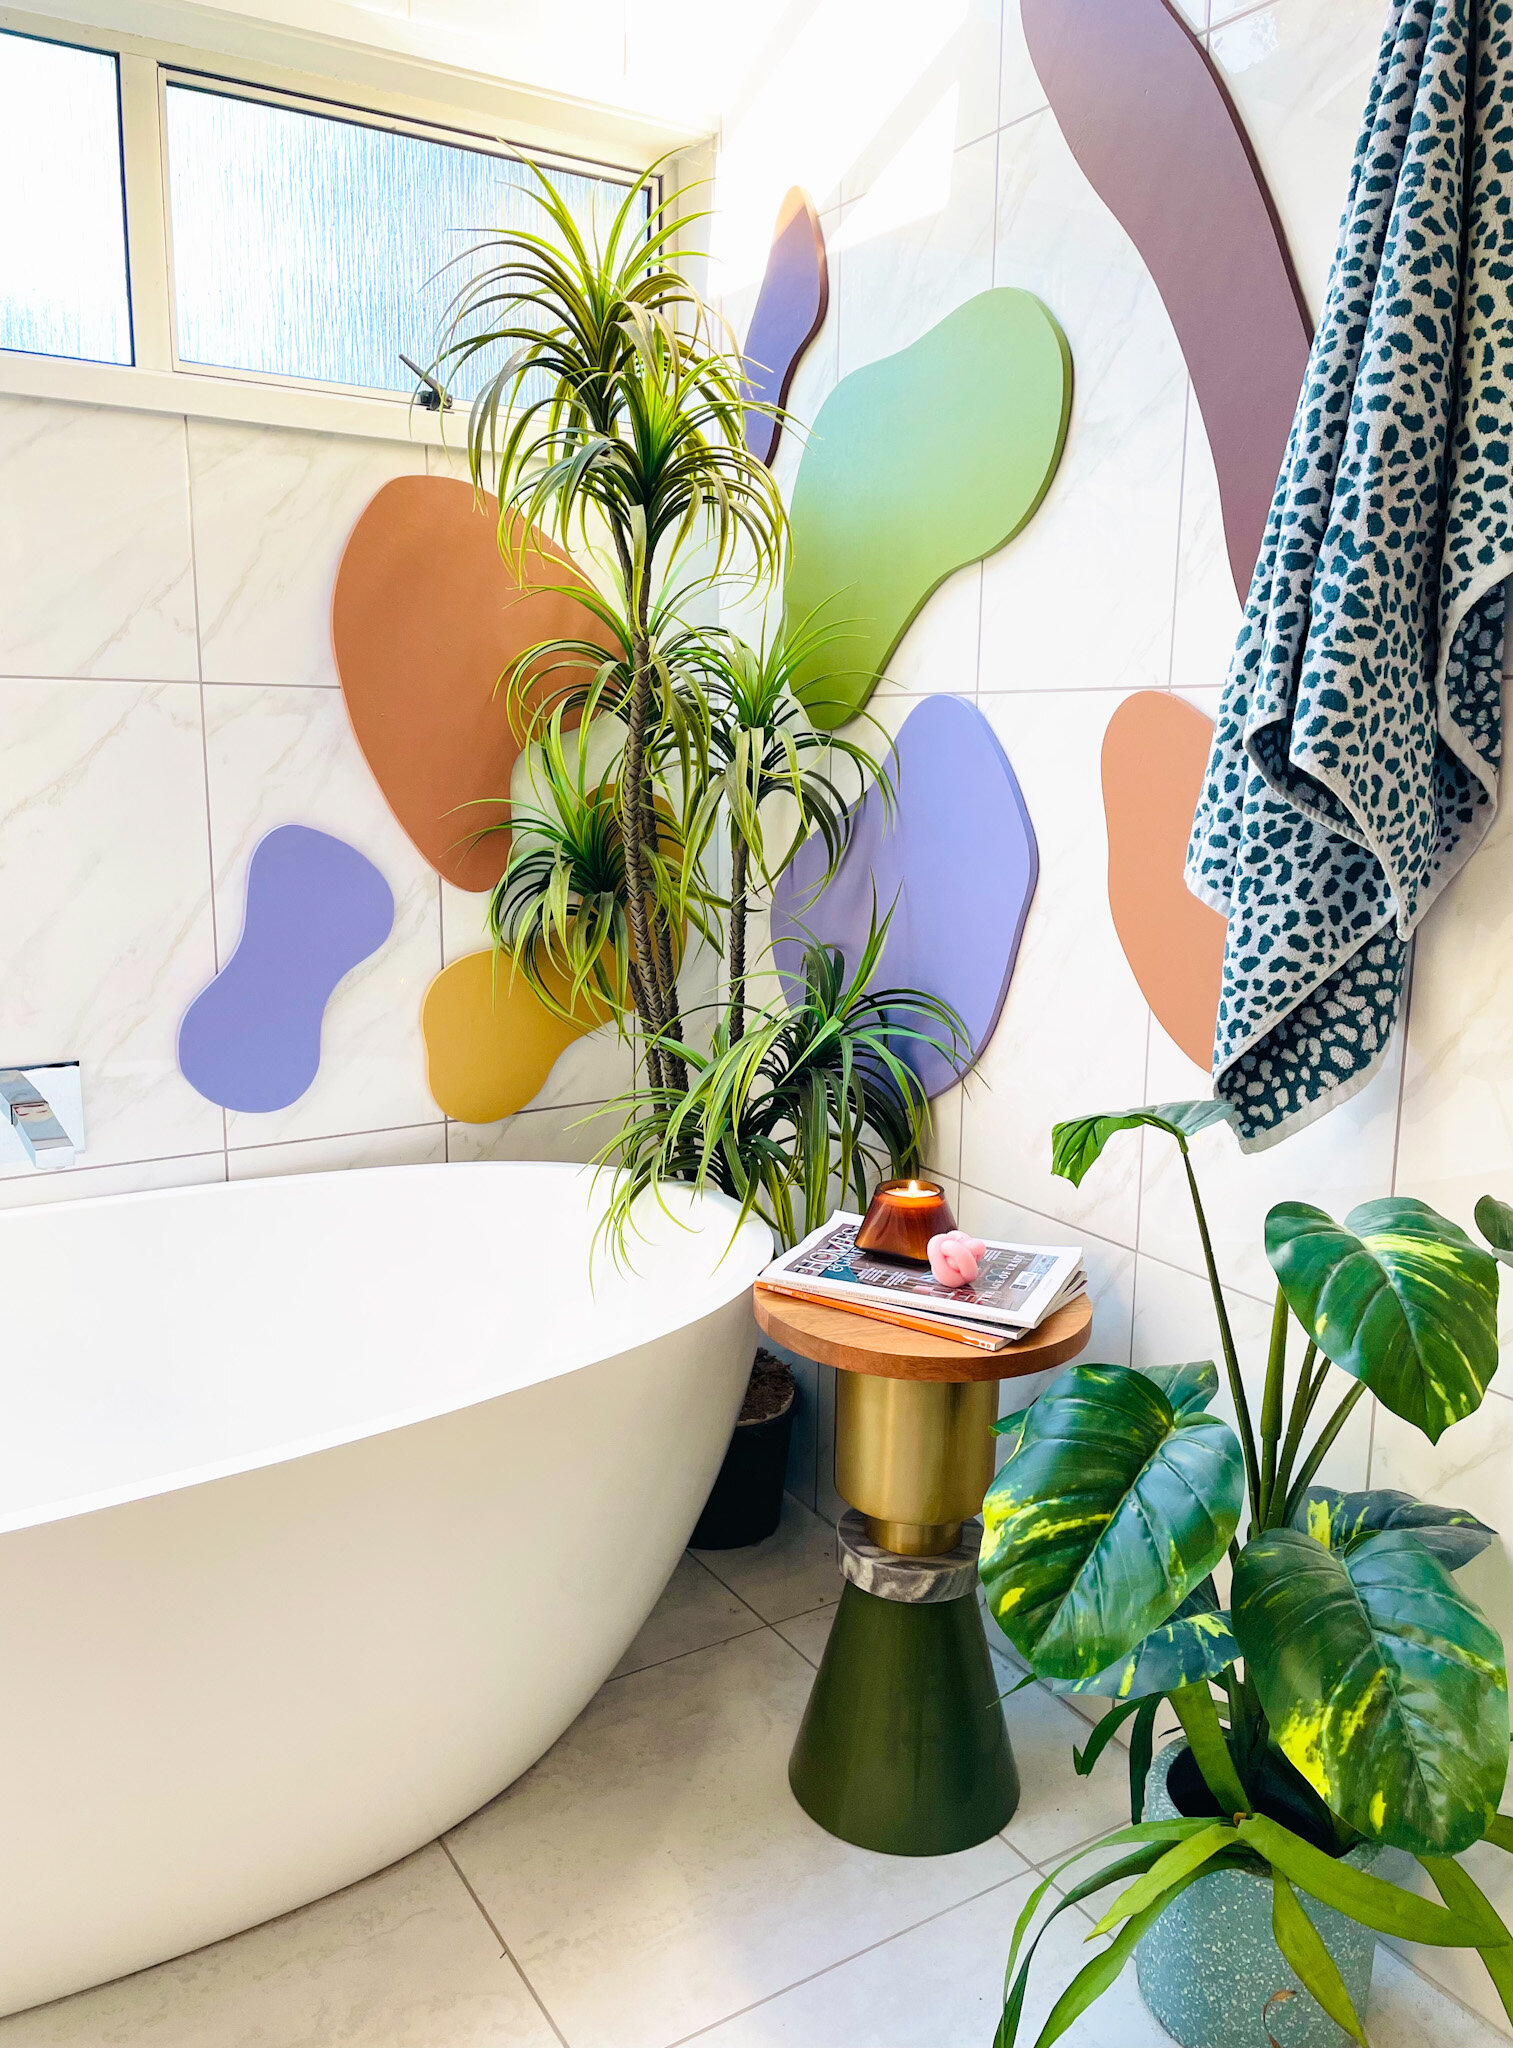
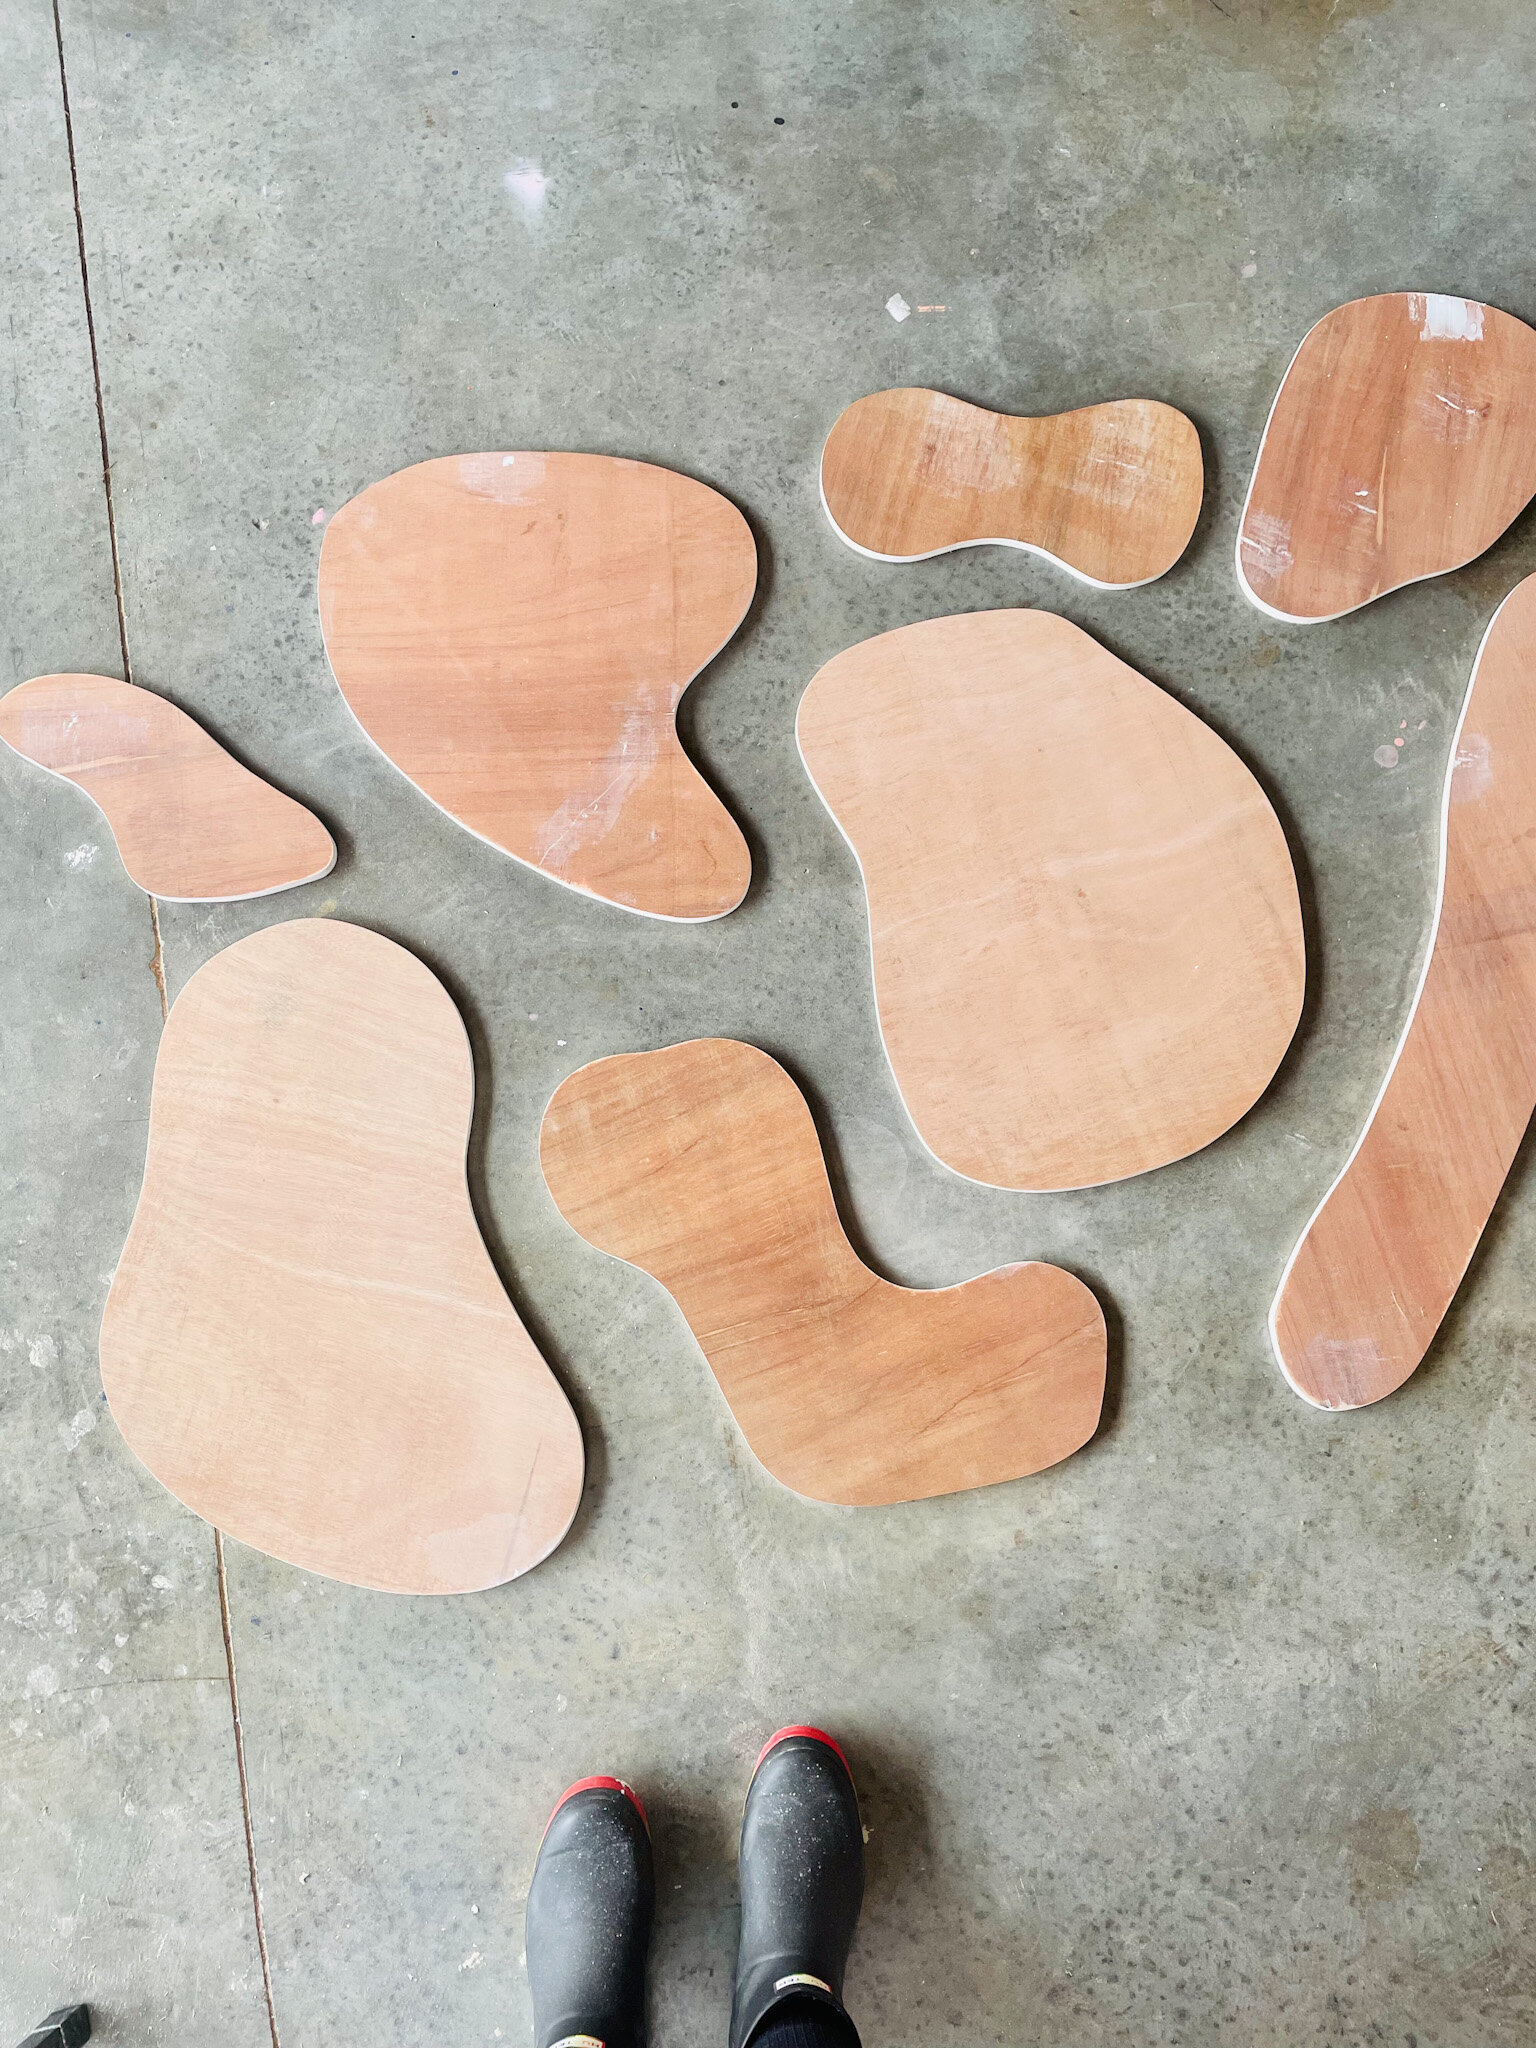
I’m forever painting walls and murals, but I wanted to mix it up a bit and come at it in a whole new way. Enter the 3D mural, or a wall collage! Taking inspiration from cut paper collages, these shapes are cut from plywood before attaching to the wall.
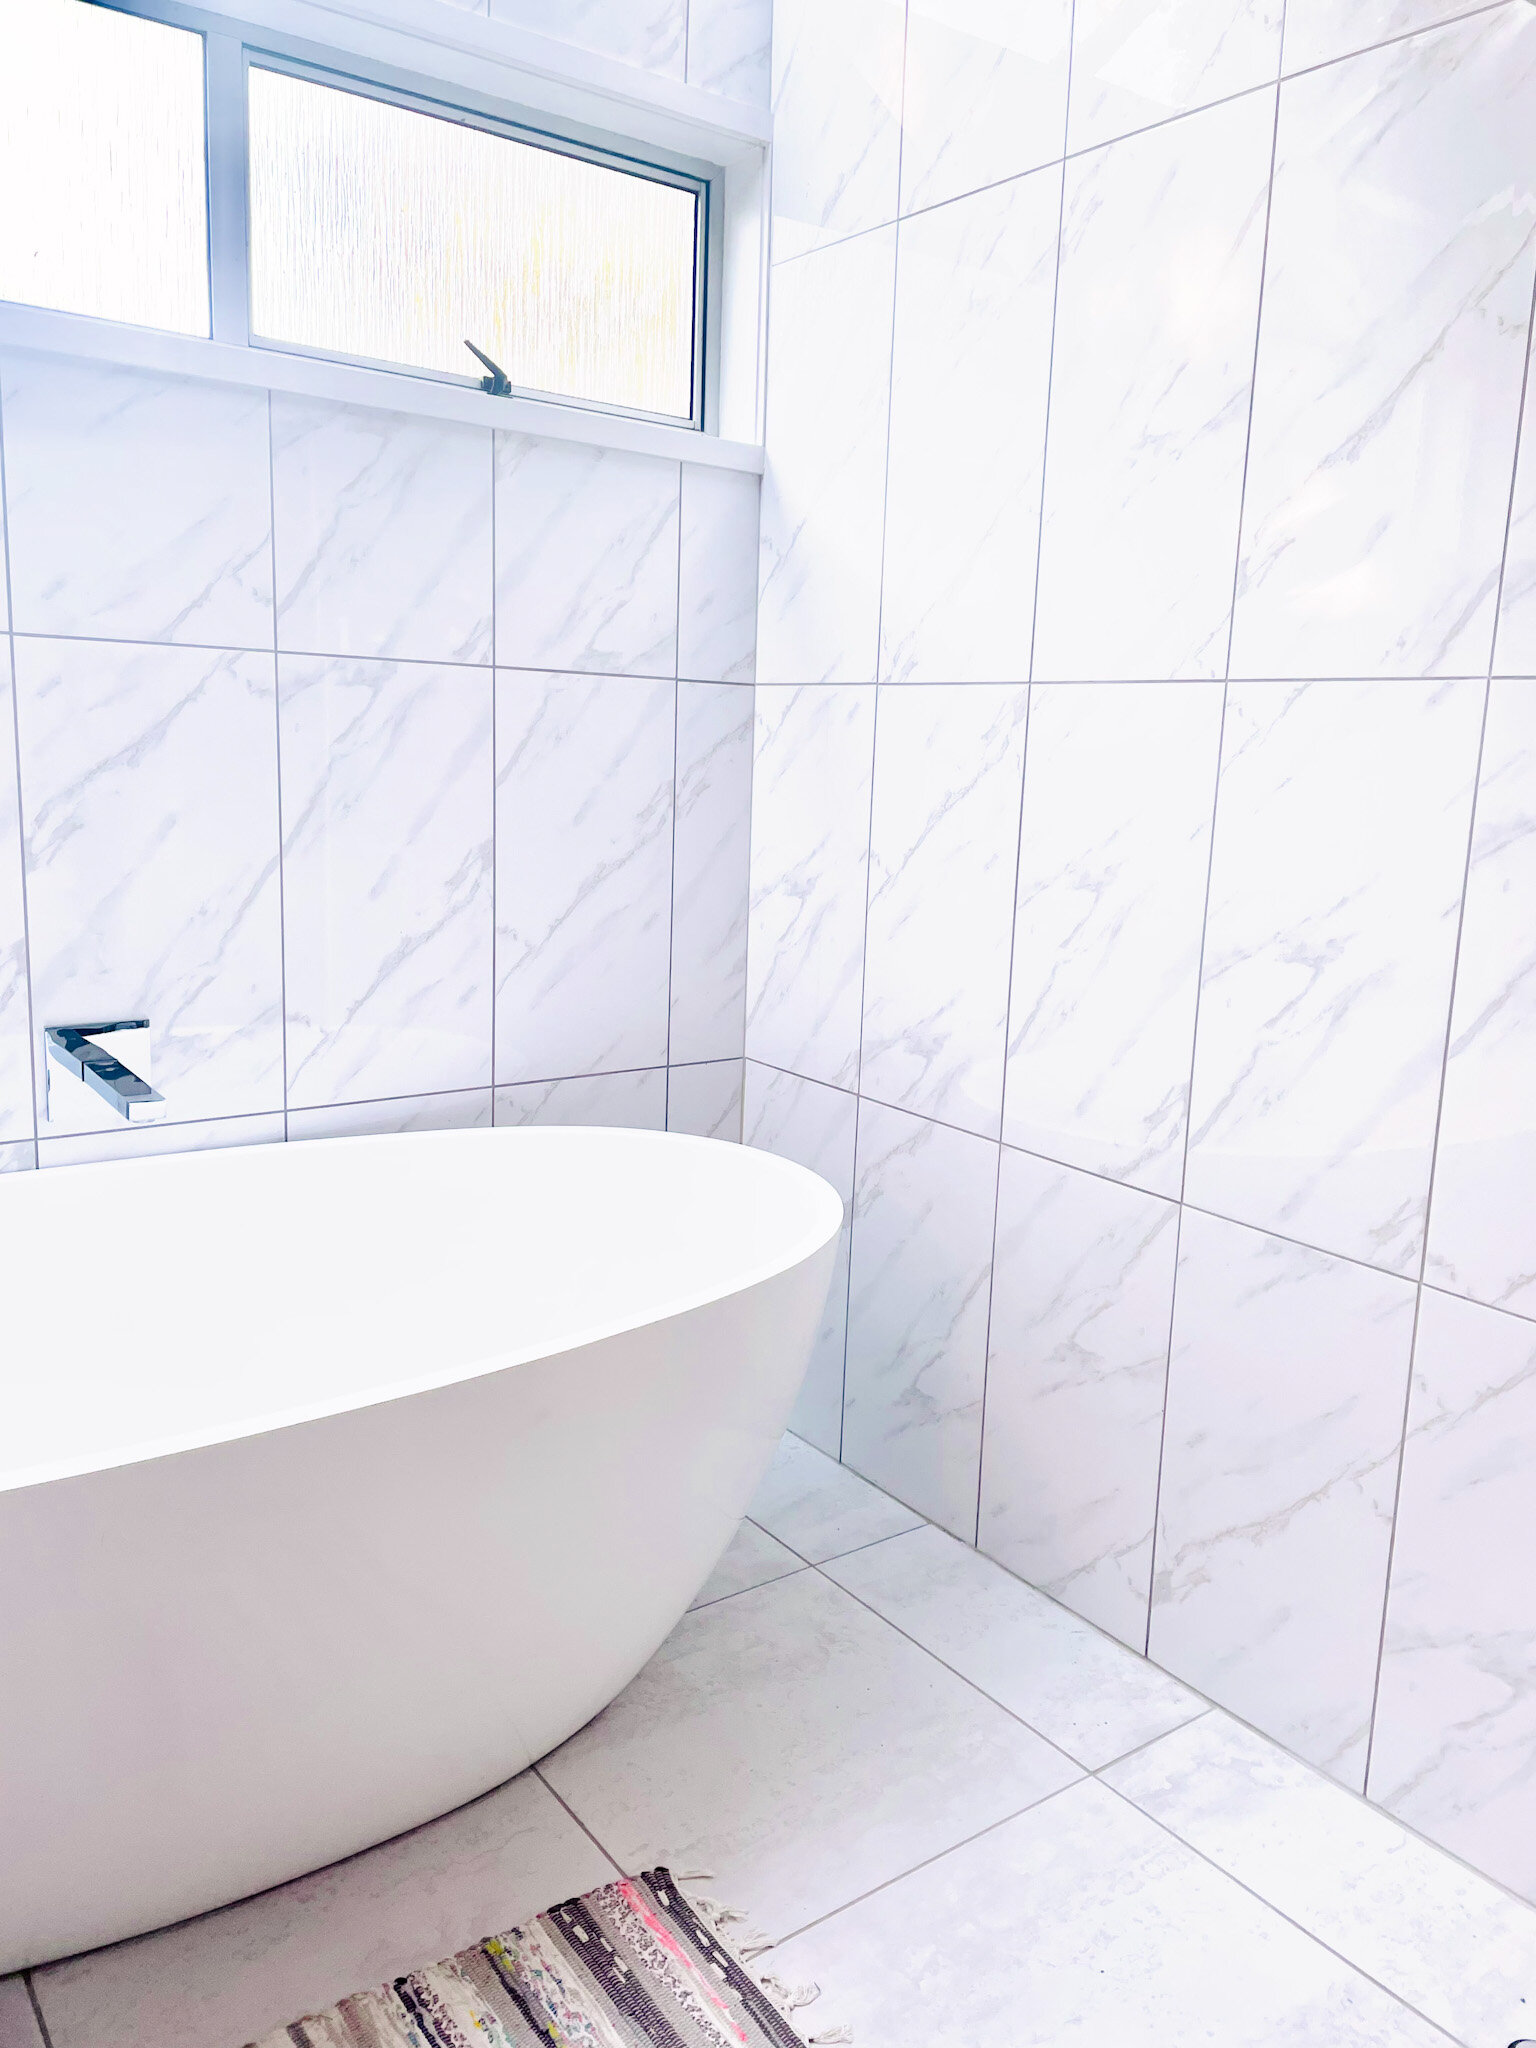
This means that not only are they moveable, they’re rental friendly, and can even be used to decorate difficult spaces - like my fully tiled bathroom walls.
You’ll need:
To create this project you’ll need:
9mm plywood (I used a single 1200 x 620 mm sized sheet, you can also have this cut down in size at Bunnings free of charge).
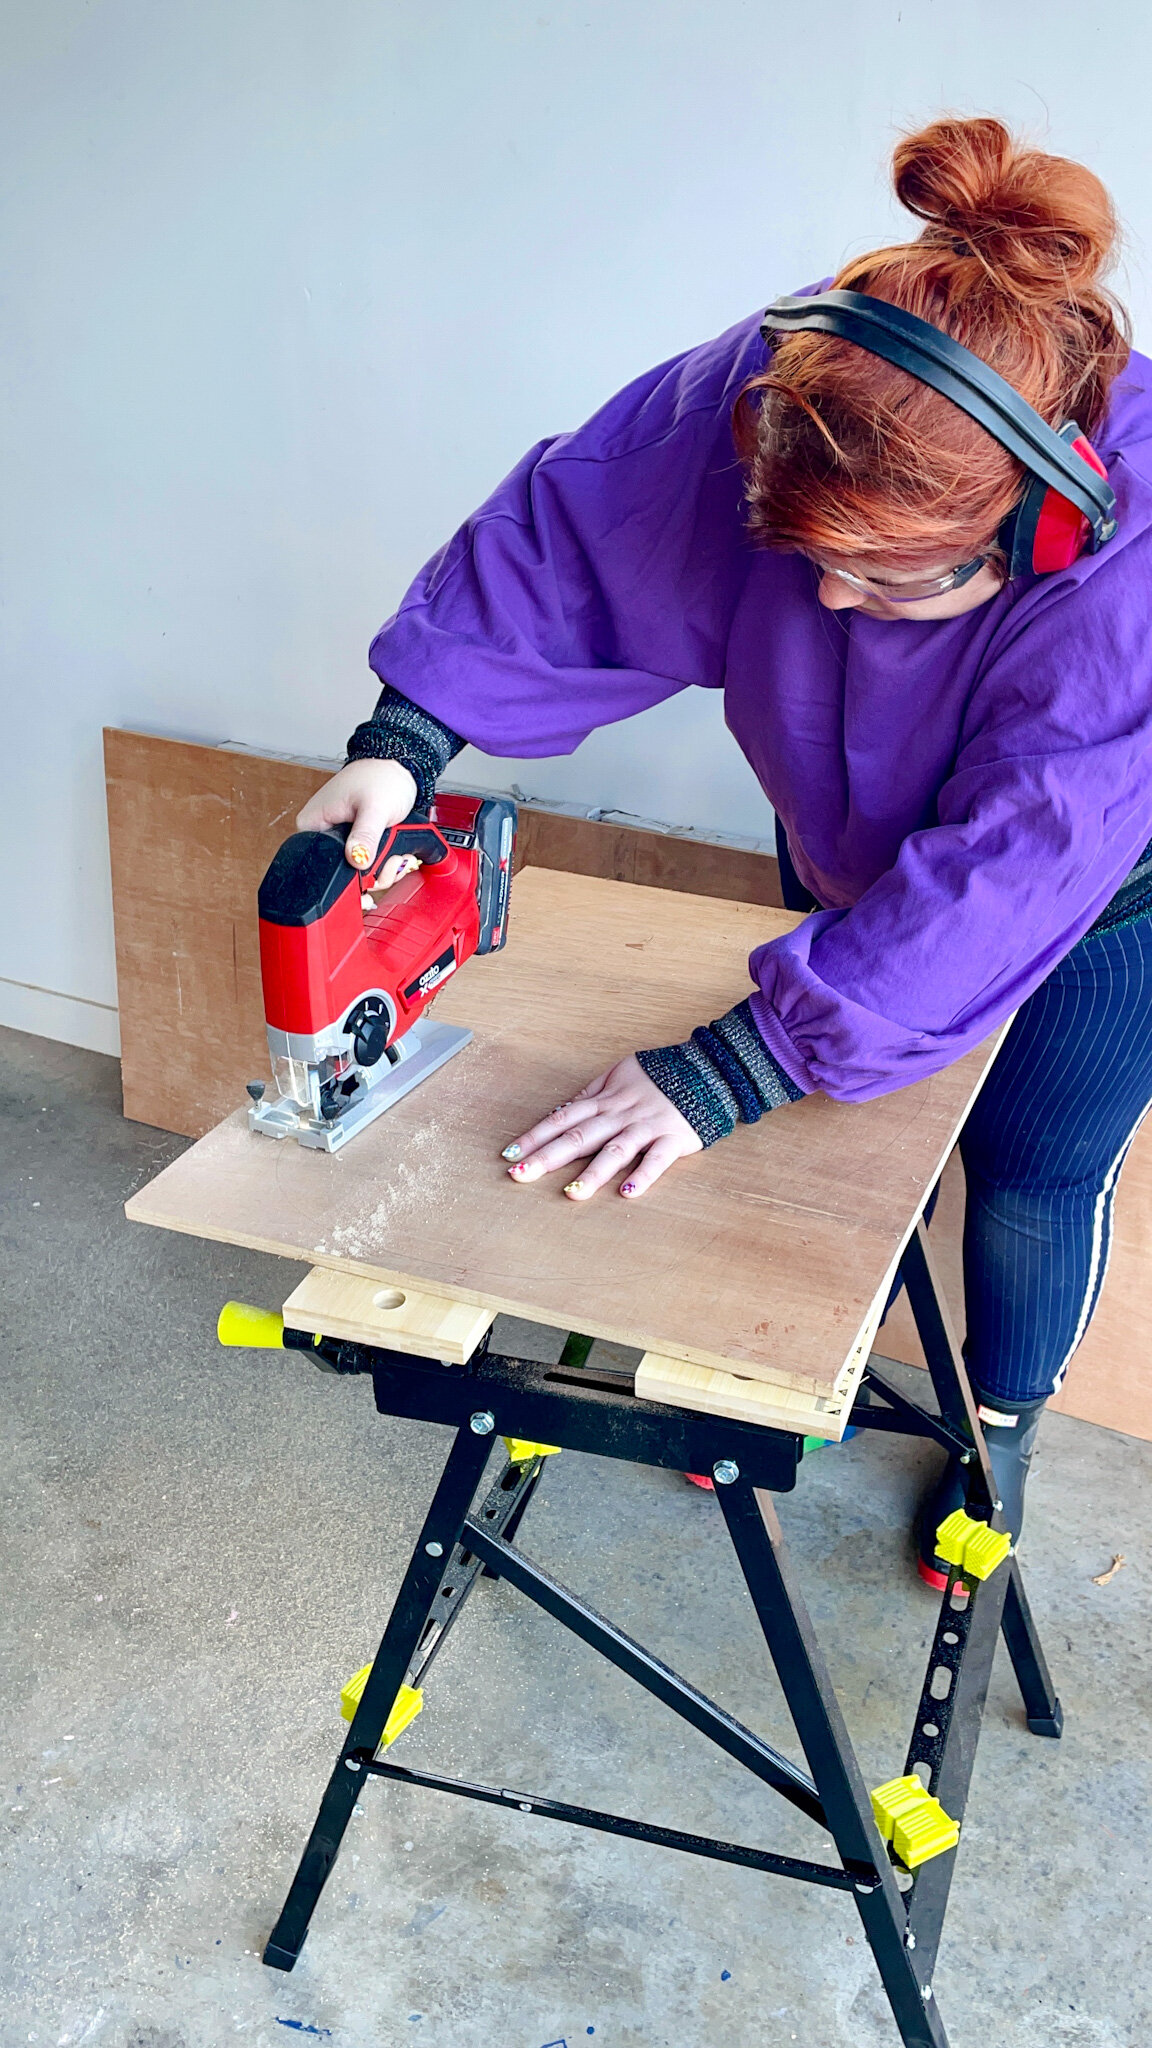
Jigsaw and blades (I got the Ozito brand cordless jigsaw that shares a battery with other tools in the range).
Spakfilla Rapid (or your choice of gap filler)
Detail sander (makes for quicker work but sandpaper and elbow grease always works too!)
Dulux paint test pots and paint supplies - mini rollers and trays, brushes
Plan your design
The Dulux paint swatch cards are perfect for choosing your colours, but also for creating a mini collage of your final design. Play around with shapes and layout until you’re happy and then take a photo of your finished composition for reference!
Make!
Steps for making:
Plan your design (see above).
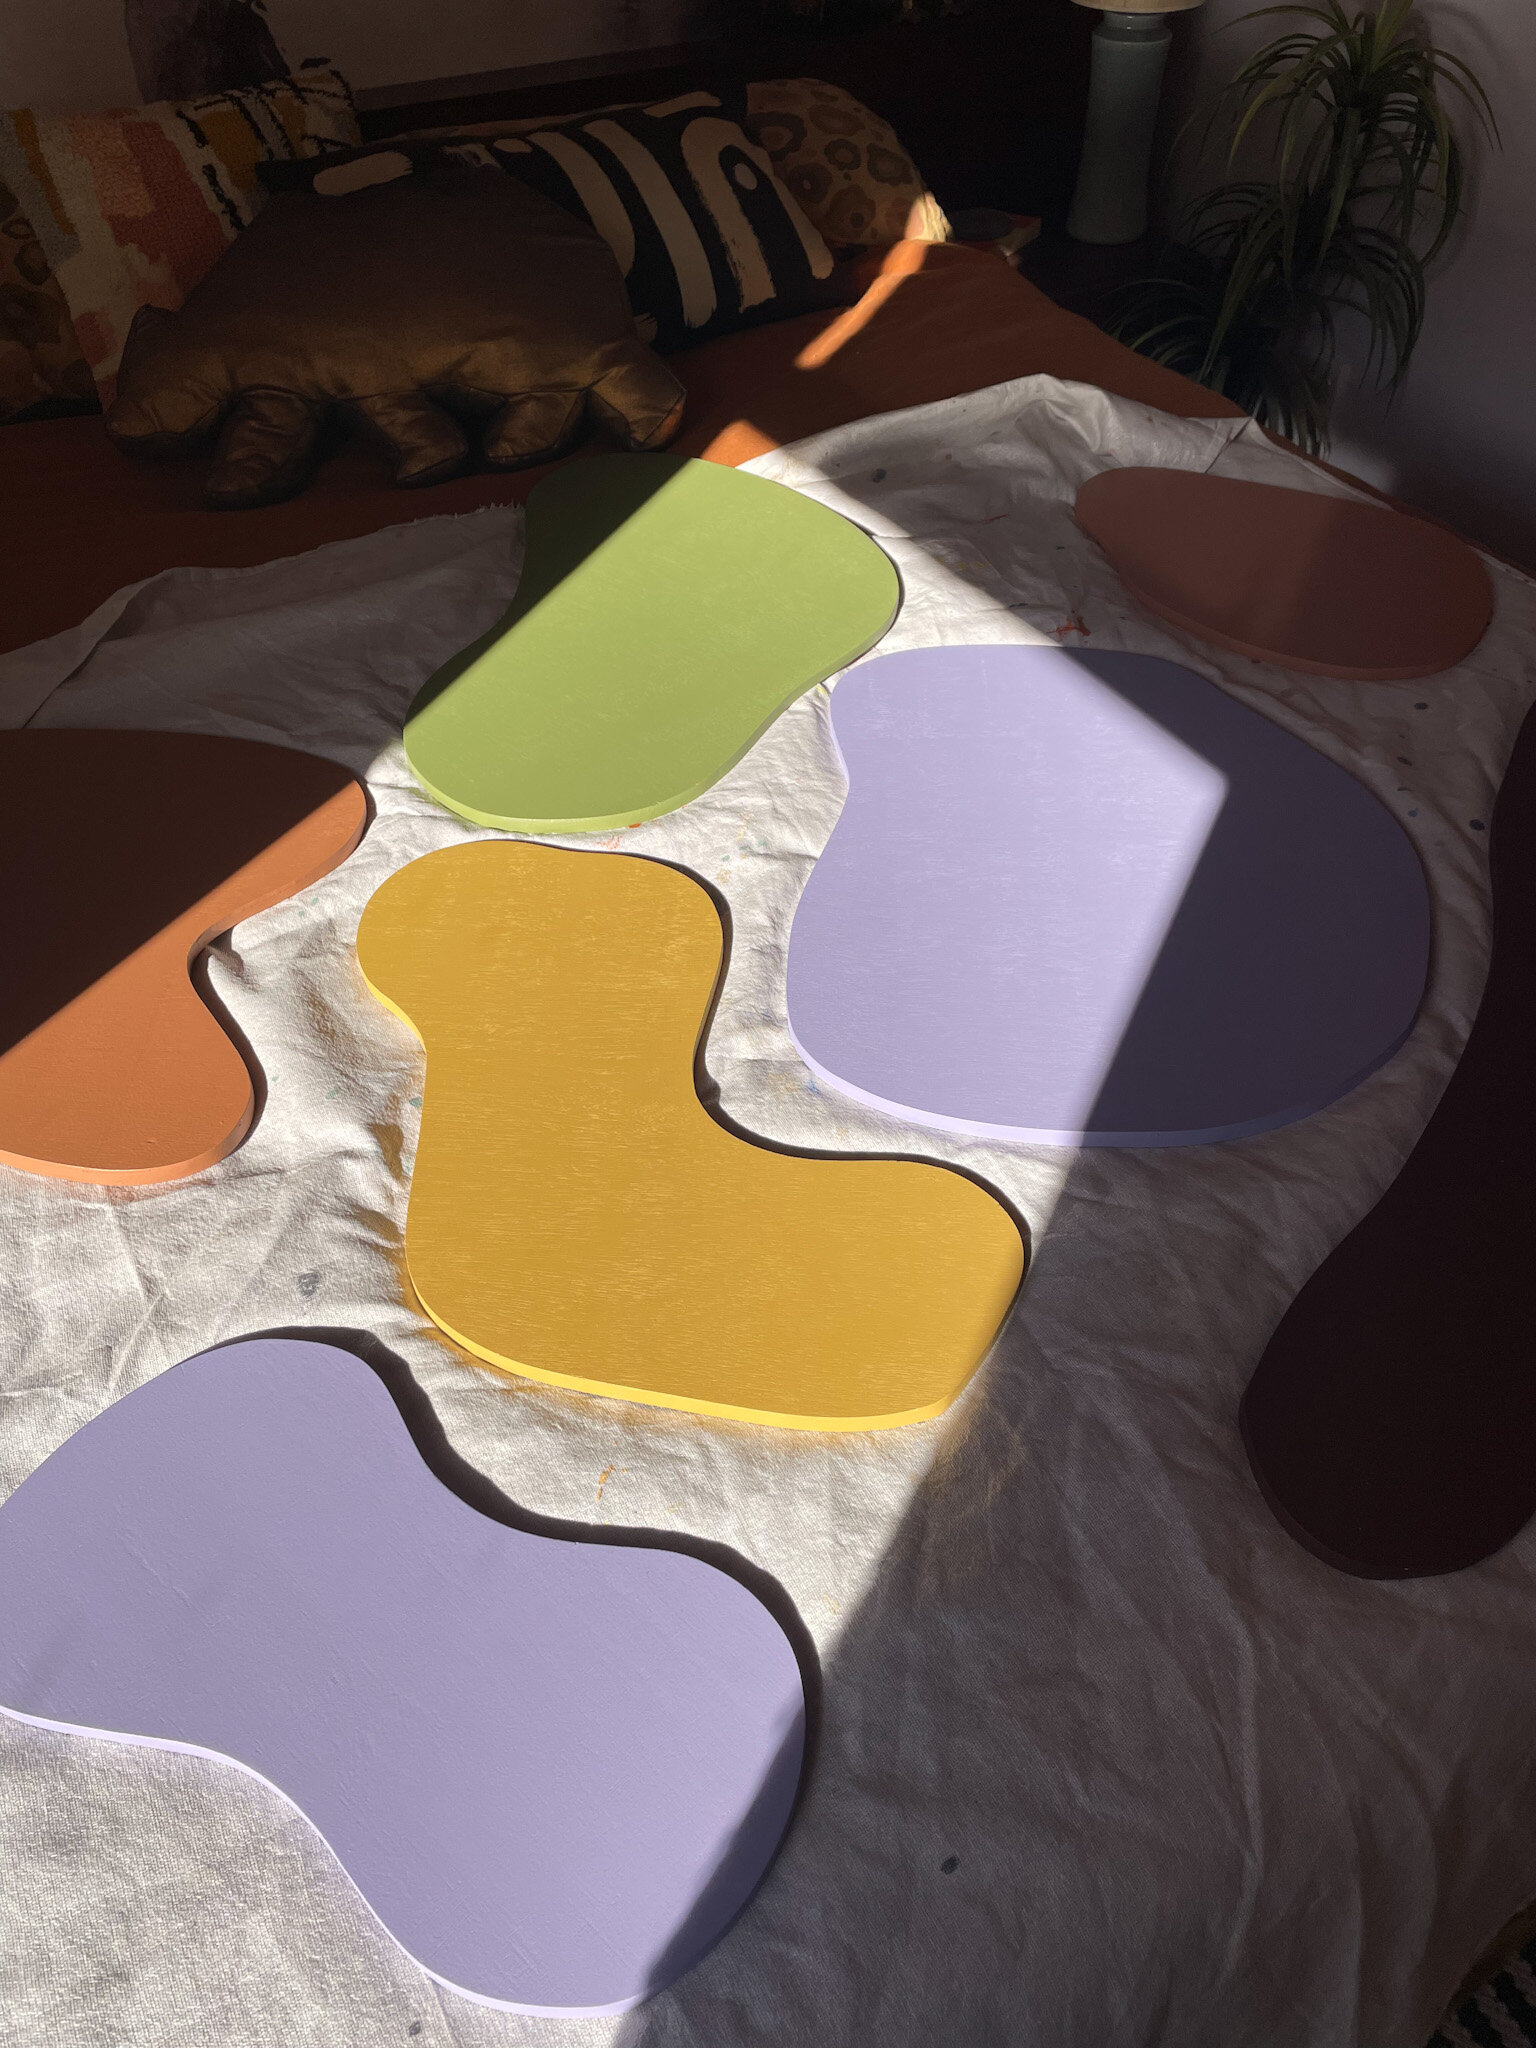
Sketch your shapes on to the plywood - organic shapes are easiest and avoid too tight curves.
Get cutting! Be safe and wear ear and eye protection when cutting with the jigsaw.
Sand edges to get best possible shape.
Fill gaps and smooth edges with spakfilla - leave to dry.
Lightly sand down top and sides ready for painting.
Paint using rollers and sample pots - refer to your plan for colour layout! Let dry before applying a second coat.
Attach command strips to each shape and apply to wall (press hard!)

The depth of the plywood adds an extra dimension to a flat wall, casting shadows that move with the light. Try combining different thicknesses of wood for a varied look.
For paint colours I used: Dulux “Kopu” (green), “Waitakeres” (purple), “Ponsonby” (brown), “Whakapapa” (dark burgundy) and “Houhora” (yellow).
Changed your style? Take a shape off and try a different colour!